If you run your mouth about something long enough, people will start to think you an expert in said topic. Tutus. Pooping outside. Backcountry skiing. These are my niches and I’m not at all upset about it.
As a result, I often get asked to help pick out skis and recommend gear. I love it when people ask for help, and am never upset to spend a few minutes of my day immersed in the latest and greatest outdoor tools. Plus, whatever I can do to reduce the confidence gap is time well spent. As someone who is super intimidated at the idea of getting a new mountain bike, I know how invaluable personal advice can be and I like to pay it forward where I can.
Before we dive into the gear, a few useful pieces to get you started:
- What is backcountry skiing: provides the basics of the gear you’ll need for uphill skiing, and further explains the differences between backcountry vs. alpine boots and bindings, which you’ll want to understand before going shopping
- How to get started backcountry skiing: list of ten things you need to know to manage expectations and get started in the backcountry
- Where to buy backcountry ski gear: Seattle specific, but worth a reference to know how to allocate your overall budget (and includes great online resources)
Boots:
Spend money on boots. There are places to save and this is NOT one of those. Unhappy feet will ruin any ski day, and it’s worth getting boots that make your feet smile. I tell people to buy used skis and bindings all day long, but you want to buy your boots new (or lightly-used with liners that can be molded to like-new). I also recommend spending ~$150 extra to get custom foot beds, as those have completely changed my life after debilitating blisters.
I have Scarpa Gea’s, and my recommendation is to buy the boots that fit you the best out of the box. They can be molded after the fact for your weird bunion, but don’t fight something that feels bad from the get-go. I have a wide, flat foot and the Scarpa brand seems to be best for me, but we all have very different feet. Each boot brand uses what’s called a “last” off of which they mold their boots. Different brands uses different proprietary lasts, and so each brand will fit differently. I recommend trying on one boot from each brand to learn which brand you like best, then deciding between the different options from that brand.
You want boots to fit tight, but not excruciating like climbing shoes (or heels, amirite ladies??). You should feel equal pressure around your foot, and when you tighten the boots you want to be able to wiggle your toes while having your heel clamped fairly tightly down with little up/down movement. Most boot fitters will walk you through this, and I hope you find the process of buying boots relatively painless.
Pro-Tip: If you’re in Seattle, go to the guys at ProSki in Seattle and ask for Mike or Michael and tell them I sent you. They’re both excellent, and this is the first (and one of the only) shops where I haven’t been treated as lesser-than for being born with a y-chromosome.
Bindings:
Bindings have evolved a LOT in the last few years with the release of the Dynafit patent on the pin technology. Now you can get tech bindings from a number of companies, and I do not know a ton about them. I still have legacy Dynafit Volcanos and Dynafit TLTs, and I’m quite happy with them (and will buy them again when it’s time). Regardless of which new binding you get, I can tell you this: stay away from a hybrid touring binding, aka bindings that look like downhill bindings but have a “touring mode”. They’re too heavy, and the performance difference isn’t enough to make it worth the weight.
I like to explain it this way: Think about a time when you’ve been really miserable. Perhaps you were wallowing in waist-deep snow because a piece of your gear blew out on you. How much would you pay in that moment to not be wallowing? $50? $100?
Exactly. Right now you are thinking about how to save money on bindings, and the Fritchis or Markers look awfully good. Plus, they’re cheaper! They’re also way heavier. People say that a pound on your foot is worth 5lbs on your back, and I’ve found that to be true. So take it from me and about a million other people: spend the extra $100 now and don’t regret not doing so later by going with a tech binding.
And yes, I do understand that some people think they’re less responsive and those same people are afraid of the binding either not releasing or releasing too often. Those were all viable concerns… 10 years ago. You should be fine, and the problems you have with tech bindings are the same you’d have with others anyway, so you might as well make your life easier.
Pro-Tip: In the where to buy gear blog I talk about the great resources available online and in-person for gear. There’s a new place in Sea-town called Wonderland Gear Exchange, and last time I was in there they had tons of skis with bindings and boots. Go give it a gander.
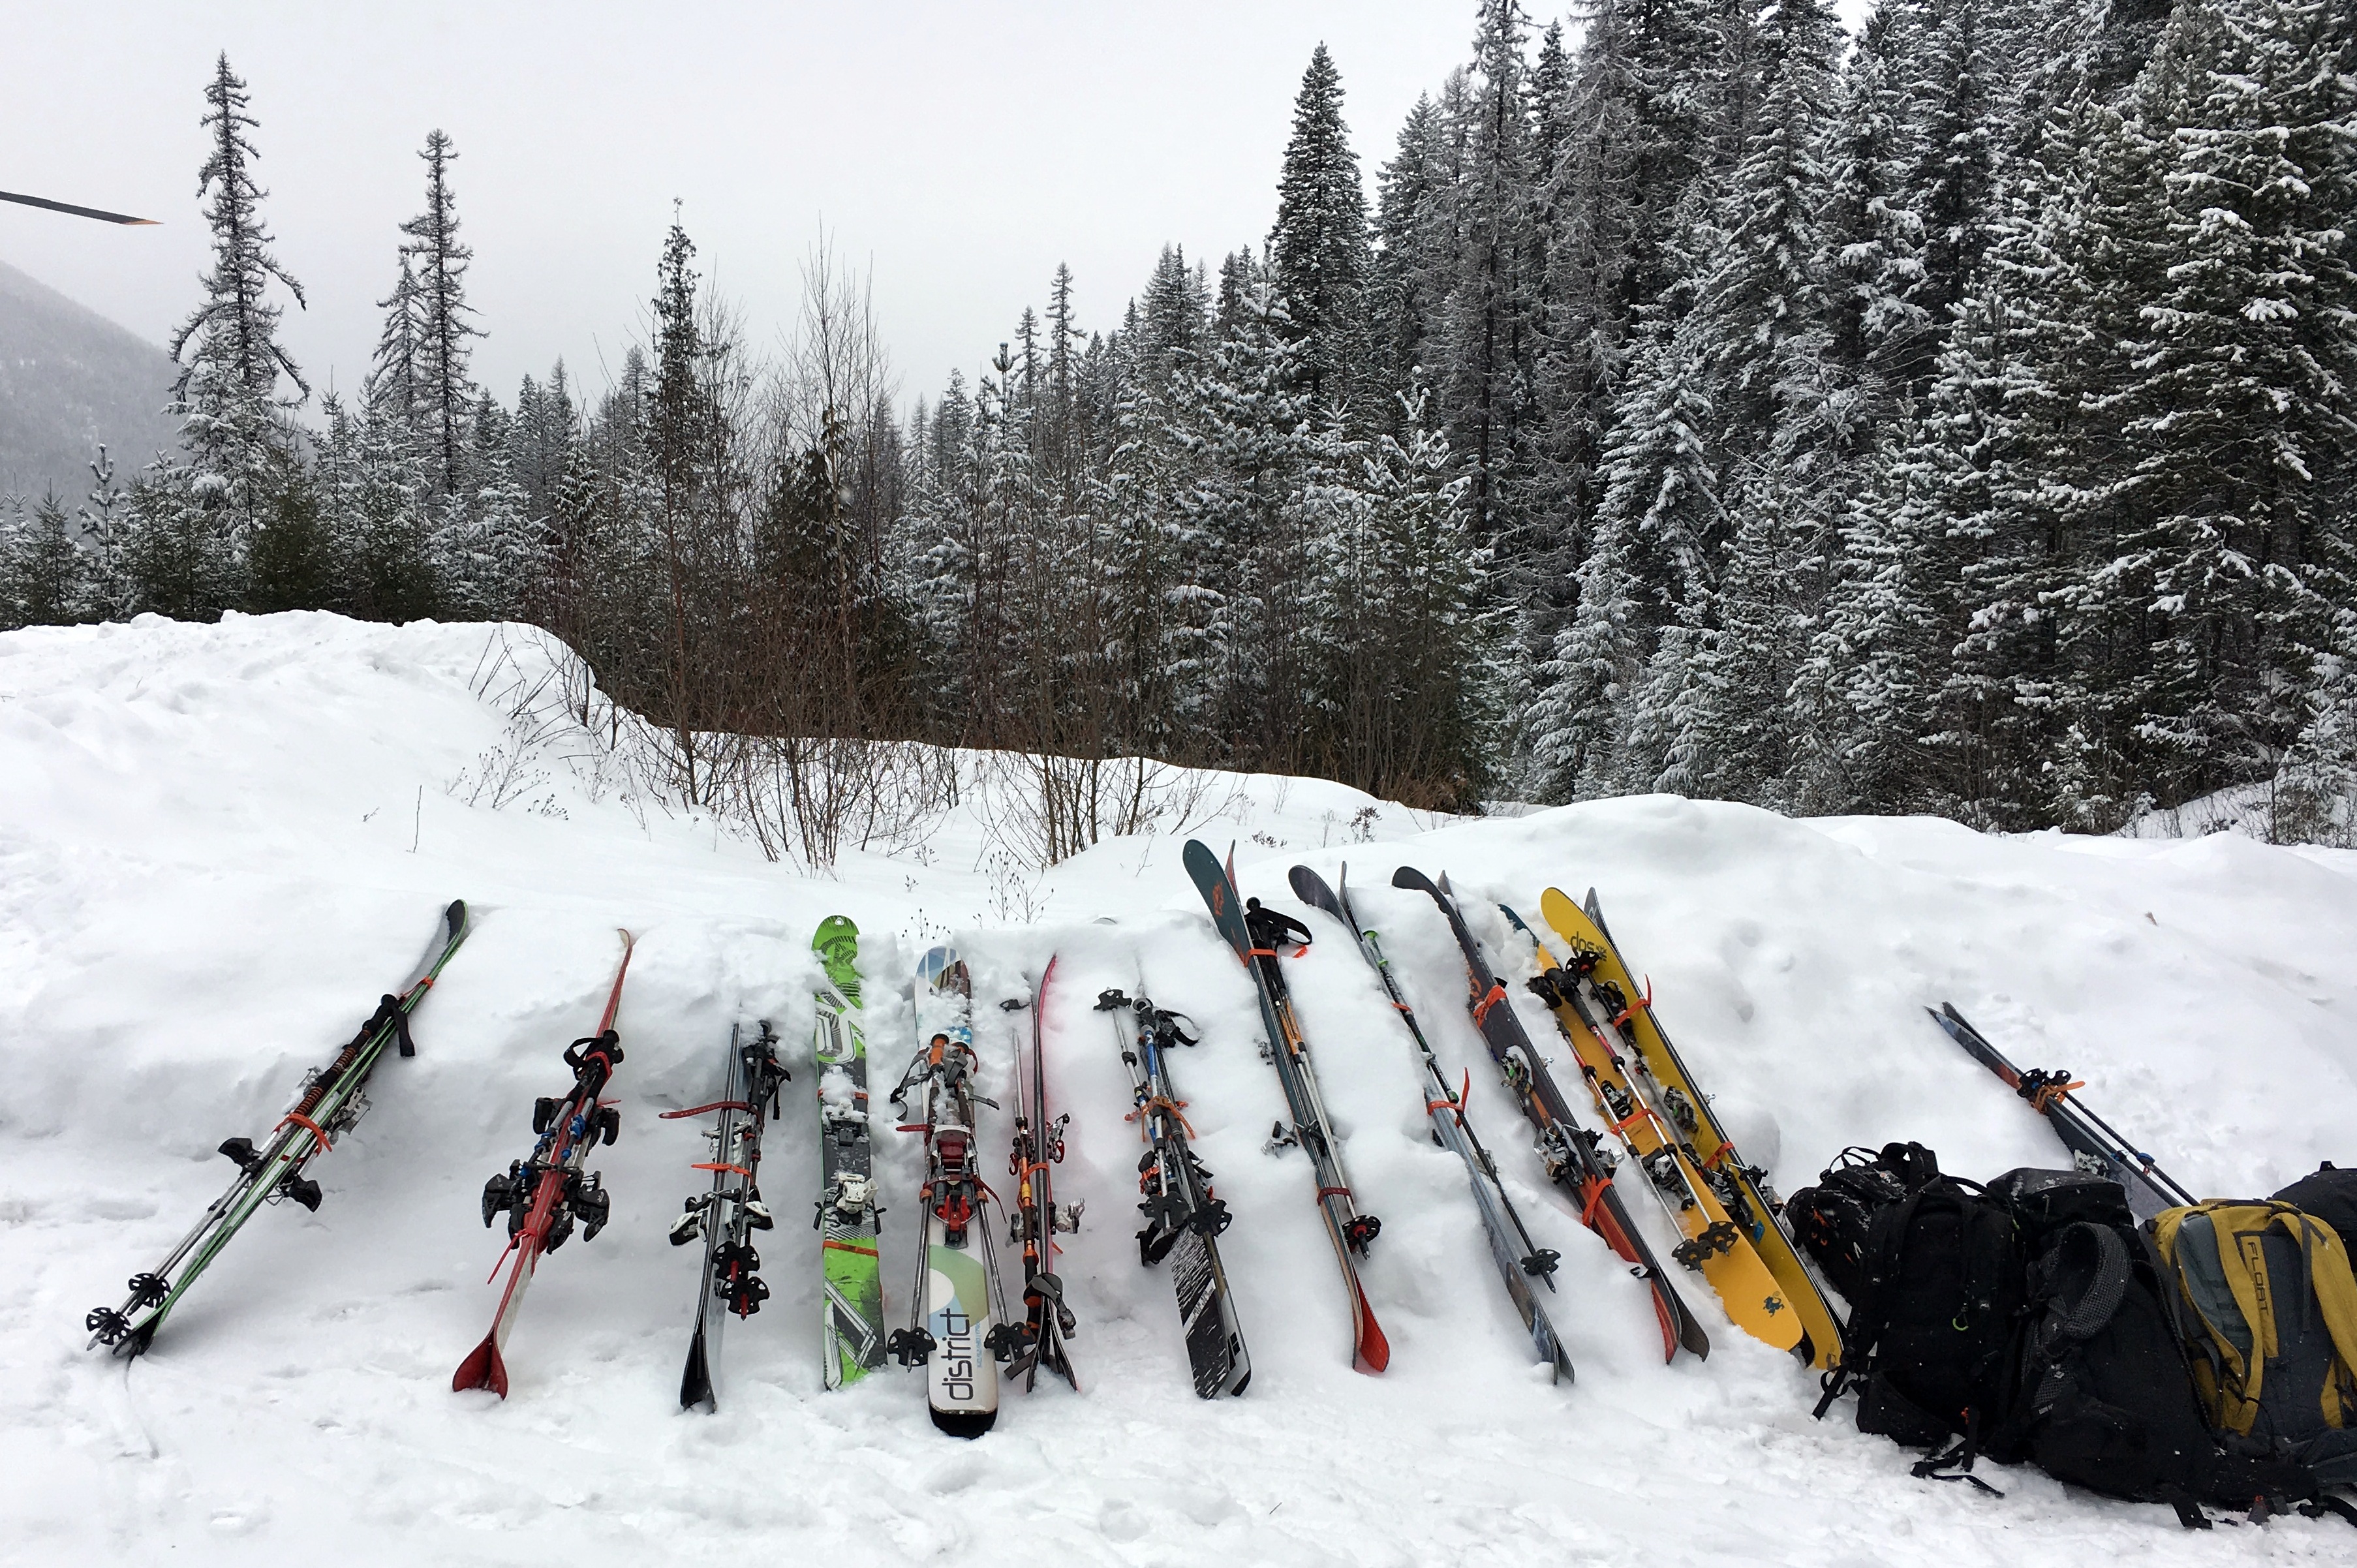
Skis:
For skis, I recommend something backcountry specific. Your local shop can talk to you about your options based on your skill level, but there are a lot of good skis out there. Websites like evo.com also do a great job of letting you compare different skis. I have K2 Ultrabrites as my all around ski. It’s 102 underfoot and a great ski for cruiser days on big mountains. I’ve had the ski for 5 years, maybe more, so that shows how much I love it.
In general, if you’re looking for an all-mountain ski or an all-around ski, anything that’s 98-104 underfoot will be a good all around ski for you. As with all bc things, the lighter the better (which is why you want to go with backcountry specific). In terms of length – *sigh* – I have a hard time with this. Shorter skis will be easier to turn and, more importantly, easier to kick-turn on the uphill. The size and shape of ski you get will largely reflect your ability level as a skier, but when in doubt I recommend defaulting to shorter vs. longer. But I will always be that middle-schooler who raced on 205cms at heart.
Pro-Tip: If you’re new to skiing or to backcountry skiing, go ahead and buy used skis – just be sure to find out how many times they’ve been drilled for bindings. (When you put bindings on skis you have to drill a hole in the ski. Drilling more than twice is bad, so do not buy skis that need to be drilled a third time.) If you can find a ski that has bindings already drilled to your boot length (a rare, beautiful feat) that’s a sign you should buy the skis. And bonus: lots of used skis will come with skins!
Poles, Skins, Beacon, Shovel, + Probe
You really don’t *need* the touring specific poles, and can definitely get away with $10 alpine poles. That said, I have extendable Black Diamond poles that I like, and the main difference is that you have rubber grips slightly below the pole handle. These are nice when you’re touring on steep stuff, or when you’re in really deep snow. Some poles collapse in one place and some in two. Mine are just the one spot, which means they don’t get as small but it also means there’s less places for it to fail. The collapse-ability doesn’t make a big difference unless you’re a splitboarder. If you’ll be doing steeper stuff or lots of glacier travel, I would recommend getting one pole and one whippet (a pole with an adz on the end of it to act as a second ice ax when you’re on the steep stuff).
You can buy skins from a number of brands, but I’ve always been happiest with Black Diamond ascensionist skins. Whatever you get, stay away from G3 skins if you live in the PNW and you should be just fine. Keep in mind that if you buy these online you will have to cut them to fit your skis (width-wise), and you may need to put the front clamp on. For this reason I always buy mine at a shop, then they’ll cut them for you.
When you take your AIARE avalanche class you’ll learn lots about beacons, shovels, and probes. The new beacons are awesome and have multiple antennas to help you identify different signals in the case of a multiple-burial. Whatever you decide to get, make sure you PRACTICE with your beacon a lot before going out in the field. You’ll also want to practice deploying your probe and assembling your shovel. Have a place in your backpack where these items always go to help you be efficient in the case of emergency.
Questions? LEave a comment!
Want more? Check out this post on the five things you didn’t know about bc skiing.


